Thursday, 25 April 2019

Find Joy ~ Kaisercraft

Hello everyone! I hope that you are well. Today I am sharing a layout that I have created using Kaisercraft's Paisley Days Collection. It's fun and fresh and perfect to create layouts that feature spring time photos, children and family outings. If you would like to view the instructions on how to create this layout, stop by the new Kaisercraft blog where you can download full instructions.

I used this photo as a springboard to customise my embellishments. The little girl's dress coordinated with the collections and the innocence of playing with bubbles just was just adorable!

There is still time to enter a competition over on the Kaisercraft blog. Make a comment about the current collections for a chance to win one of two new collections to be released next month. Just click here .

That is all from me. Have a great week and thanks for stopping by!


Saturday, 20 April 2019

Charity Knitting

Hello everyone! I hope that you are well. Recently I have decided to use up my scraps of wool that I have accumulated over the years from different crafting projects. I had started crocheting a blanket (WIP) but I get really bad cramps in my hand. I discovered the addi machine on Youtube but then discovered that Lincraft had their own version. I the US it is called the loops and threads machine. There are different types of hand crank machines on the market but I went into Lincraft and bought one.

Looking down, this is what you see. It has 40 needles and essentially knits tubes and can also knit panels. Once I started, it was easy to create the tube...I haven't made a flat panel yet.

This machine is certainly making it easy to create knitted projects...but as I am discovering you need the right wool and also to play around with the tension guide.

These are my most successful beanies so far. The wool is 8ply and is silky to touch. The machine didn't have any issues knitting it and the stitches are consistently knitted.
My first scarf on the lincraft machine. Each section was 30 rows, nine sections in total. It liked the plain wool but not the patterned wool which was a bit thinner...both were 8ply acrylic. Machine handle made a clunking sound...need to play with the tension I think.

Football scarf....some issued with the black wool...clunking sound..perhaps the tension needed adjusting. Will make a matching beanie soon. Will try with different wool to see if it makes a difference.
Experimenting with styles of beanies. Tried rib stitch and a reversible beanie. They look better on...might try to do a crochet border for the ribbing next time.

My verdict....I think from my first attempts that the wool type is definitely a major factor in the success rate. I have just ordered a Sentro machine which has more needles and will make the beanies bigger. Will be interesting to compare how it takes the wool. However, for my purpose of making charity items and for using up my wool....a great buy!


Tuesday, 26 March 2019

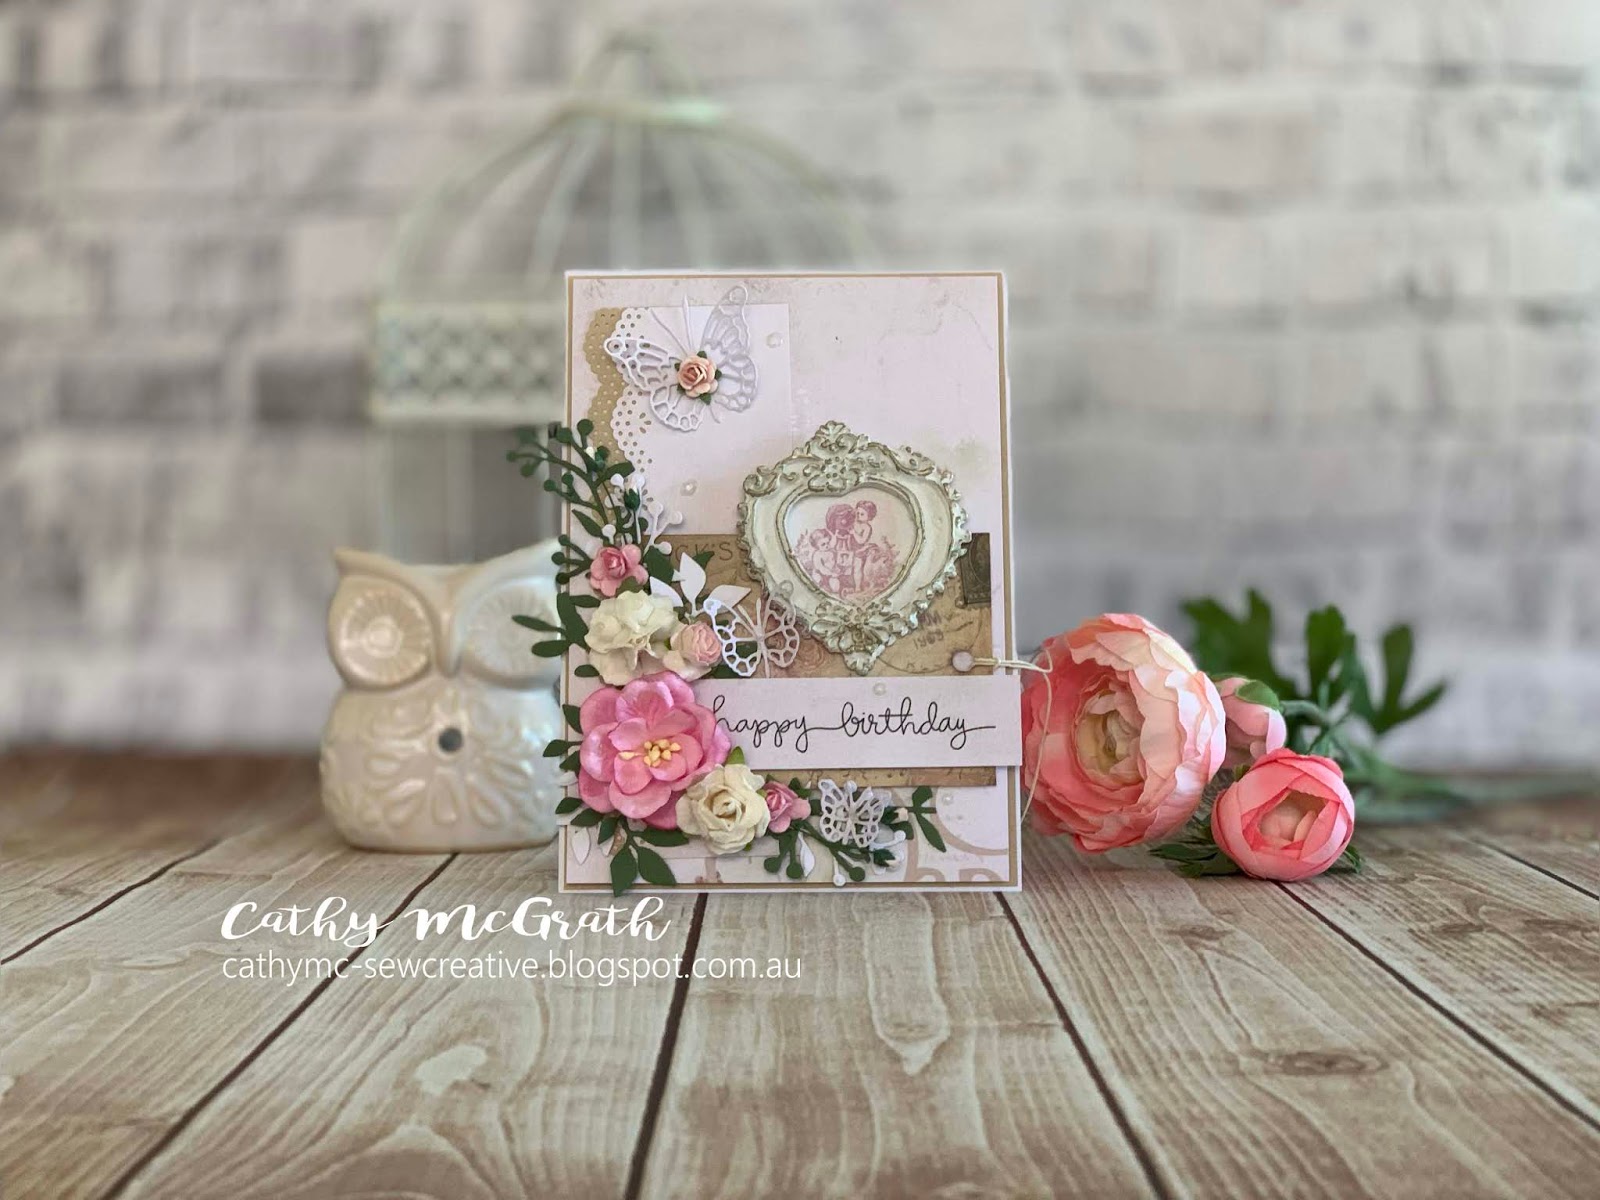
Happy Birthday

Hello everyone! I hope that you are well. Today I am sharing a shabby chic/vintage styled card which I created using the French Roses Collection from Meg's Garden. While planning my design for my card, I gave myself a challenge to use some products from my stash that I haven't used in a long while.  


The results: border punches and paper clay frame (handmade). I went through a phase when I bought some moulds and made some frames. I haven't used any yet but I used one (yeah) on my card. I fussy cut an image from one of the cut and create papers from the collection and adhered it to the back of the frame. To age the frame, I dabbed my finger into some Prima white gold metallique wax and rubbed it over the edges of the frame.

 Lastly, I added lots of flowers and foliage to complete my card. I also added some drops of Nuvo crystal glaze on some of the petals of the flowers and in some random spots of the card to add some interest.


Supplies:

Papers: Meg's Garden French Roses 

Other: Versafine Onyx Black Ink, Memory Box Leavenworth Butterfly Trio, Tim Holtx Garden Greens, Martha Stewart Vintage Doily Punch, Prima Art Alchmeny White Gold Metallique Wax, Simon Says Stamp Handwritten Borders, Nuvo Crystal Glaze, Wild Orchid Crafts Flowers

Thanks so much for stopping by!


Sunday, 10 March 2019

Wonderful


Hello everyone! I hope that you are well. I cannot believe that it is March!! Today I am sharing a layout that I created using papers and products from the Breathe Collection which is one the releases this month from Kaisercraft.

To view more information including full step by step instructions, click here to view the original blog post over on the Kaisercraft blog.

Have a great week!


Wednesday, 27 February 2019

Shabby Chic Explosion Box


Hello everyone! I hope that yo are having a wonderful week. Today I am sharing a project that I have created using  the French Roses Collection from Megs Garden.


 I decided to create an explosion box, as I wanted to feature the ephemera (cut and create elements of the collection), lace and also beautiful flowers that coordinate so beautifully with this collection.

The centrepiece of my project is the cake. It features lace, pearls and flowers from Megs Garden.
On all of my panels, I used a circular Marianne Design die as my base and built up from it. Here I added a clock ephemera element as my focal image and added some flowers and a butterfly.


 Adding a flourish and flowers adds a a softness to each page and an overall cohesion to the panels.

When selecting my images, I selected pairs...two florals and two non florals...for balance.

Supplies:

Megs Garden French Roses
Flowers
Lace
Bundle Pinks Shabby Chic

Other: Hero Arts Infinity Circle dies, Memory Box Amira Flourish, Botannical Stem and Whimsical Flourish, Marianne Design CR1201.


Thanks so much for stopping by!


Sunday, 24 February 2019

Hot Mess Canvas Tutorial


Hello everyone! I hope that you have had  great week. Over the last few nights, I have been trialing this new project as I am planning to teach it as a co-curricular lesson with some students at school. It's been one which I have been keen to have a try and it's very easy to create. It's messy but fun- aptly named a hot mess!


I selected a free svg file of a dream catcher as my image and cut it out using Cricut removable vinyl on my Silhouette Cameo. I used a selection of Kaisercraft acrylic paints and painted my 'hot mess' of squares and rectangles over my canvas using a paintbrush. After 24 hours, I transferred my design onto my canvas using contact paper then sealed my design with a thin layer of white Kaisercraft paint, then covered the entire canvas in multiple layers of white paint until the colours had disappeared.

Leaving the canvas to dry for another 24 hours, I removed the vinyl design, to reveal the mutli-coloured dream catcher.

Below is the video tutorial demonstrating this technique.


Supplies:

Kaisercraft paint: Mauve, violet, turquoise, dusty pink and white, Kaisercraft die release tool, Kaisercraft paintbrush, Monte Marte Canvas 8" x 8" (20.4cm), Silhouette scraper tool,  Cricut removable vinyl, Dream Catcher svg 

Thanks so much for stopping by!


Wednesday, 20 February 2019

Heartfelt

Hello everyone! I hope you are well. Today I am sharing a card that I have made using papers and products from the Rosabella Collection by Kaisercraft.I kept the design basic so that this could be an all occasion card in my stash for when I need a go to card for an unexpected extra something!


I used some of the collectables along with the paper blooms to embellish my card to add to the vintage feel which I love. I used foam tape to add dimension to my layers as well.

Supplies:

Kaisercraft Papers: Rosabella Collection: P2687 Darling Flush, P2686 Sombre Botanic, P2693 Angelic, Cardstock CD180 Rose

KC Products: Rosabella Collection Collectables CT954, CD511 C6 Card Pack White, F654 Mini Paper Blooms Aubergine, F641 Dusty Pink Paper Blooms, Decorative Die DD339 Flutter Layered Butterfly

Thanks for stopping by!


Related Posts Plugin for WordPress, Blogger...