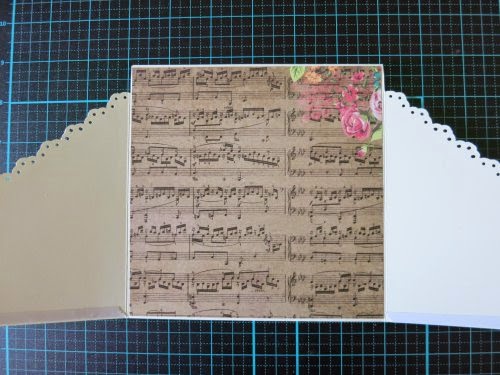
Hello everyone. Today I would like to share with you how I make a Tag Pocket Card.
- Cut 1 x 6” square of cardstock. (Tag)
- Cut 1 12” x 6” cardstock. Score it at 3” and at 6” as shown.
3 3. On the side measure 2 ½” from the top and cut to
centre score line. Punch along the edge.
1 4. Inside Panel Select one sheet of paper
from the paper pad. Trim edges to form a small border and attach. Place some
double sided tape to inside of front panels as shown and secure into place.
1 5. Front Panels From one sheet from of
patterned paper from the paper pad, cut 2 at 3” then trim long edge by 1/8”.
Measure and attach.
1 6. Tag Select the 6” square cardstock
prepared earlier and trim 1/8” of two sides to form the base. Embellish with
papers from the paper pad and collectables.
1
7. Border Strip Cut 1 ½” x12” border strip.
Punch edges using a decorative punch. Then cut a ½” contrast strip and attach.
Use a scoring tool to assist the strip to fit the shape of the card before
attaching.
You can see other samples that I have made on the Kaisercraft blog. As always, thanks for stopping by!


This looks really lovely, thanks for sharing..
ReplyDeleteLove this - got to try it and thanks for sharing and inspiring us!!
ReplyDeleteThe finished product is awesome! Definitely going to get my cutter out & try this one!
ReplyDeletebeautiful!
ReplyDelete